Azure Data Factory is a cloud-based data integration service that allows you to create data-driven workflows in the cloud for data movement and transformation.
With a user-friendly drag-and-drop interface, Azure Data Factory makes it easy to build ETL and ELT pipelines without writing any code.
Data engineers like myself use Azure Data Factory to automate data flows between different data sources.
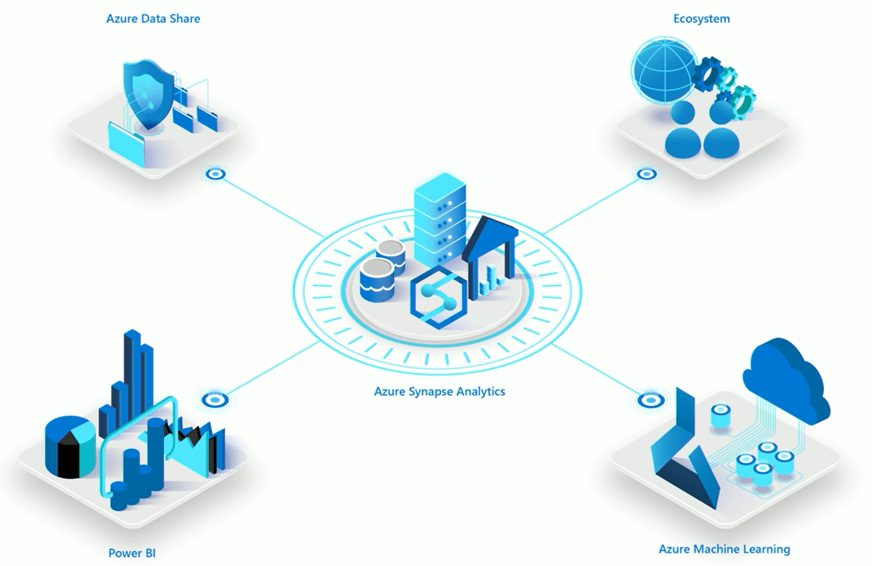
For example, I use it to load data from SQL databases into data warehouses like Azure Synapse Analytics. The service handles all the complex plumbing needed for reliable and secure data transfers at scale.
In this tutorial, we’ll walk through the steps to create a simple pipeline to copy data from an Azure blob storage account to an Azure SQL database. Along the way, you’ll get hands-on experience with some of the key concepts and features of Azure Data Factory.
So let’s get started building Microsoft Azure Synapse analytics pipelines!
Prerequisites
- Azure subscription
- Azure blob storage account with sample data
- Azure SQL database instance
Step 1 – Create a Data Factory
The first step is to create an instance of Azure Data Factory in your Azure subscription. You can do this through the Azure portal, Azure PowerShell, or Azure CLI.
Once your Data Factory is created, you can start adding linked services, datasets, and pipelines to it.
Data Factory provides a browser-based UI for authoring and monitoring your data integration flows.
Step 2 – Create Linked Services
Linked services define connections to external data sources and compute environments.
For our simple pipeline, we need to create two linked services:
- Azure Blob Storage – Points to the blob storage account containing our source data
- Azure SQL Database – Points to the target SQL database instance
Creating linked services is as easy as filling out connection details through the Data Factory UI.
Step 3 – Create Datasets
Datasets represent data structures within linked data sources. Here, we need one dataset for the source blob container and another for the target SQL table.
The source dataset specifies the blob container and folder containing the data. The sink dataset specifies the SQL table we want to insert data into.
Step 4 – Create a Pipeline
Now we can create a pipeline with a Copy activity to move data from our source dataset to the sink dataset.
Within the pipeline canvas, drag the Copy activity onto the pipeline surface. Then specify the source and sink datasets, mapping any required columns.
That’s all it takes to define the data flow logic! Azure Data Factory handles all the underlying data movement.

Step 5 – Debug and Publish
Once your pipeline is defined, you can debug it right within the UI by using debug runs. This lets you test and validate your workflows before publishing.
After debugging, hit publish to deploy your pipeline to the Azure Data Factory service. Your data integration workflow will now run on a configurable schedule. And that’s it – in just 5 simple steps, you’ve built your first Azure Data Factory pipeline! While our example was basic, the same principles apply to much more complex enterprise-grade ETL/ELT workflows.

